Let’s be honest about something. There are two types of cookie lovers in this world. Some prefer a crunchy, snap-in-your-mouth bite, while others want a doughy, melt-in-your-mouth experience.
But what if you didn’t have to choose?
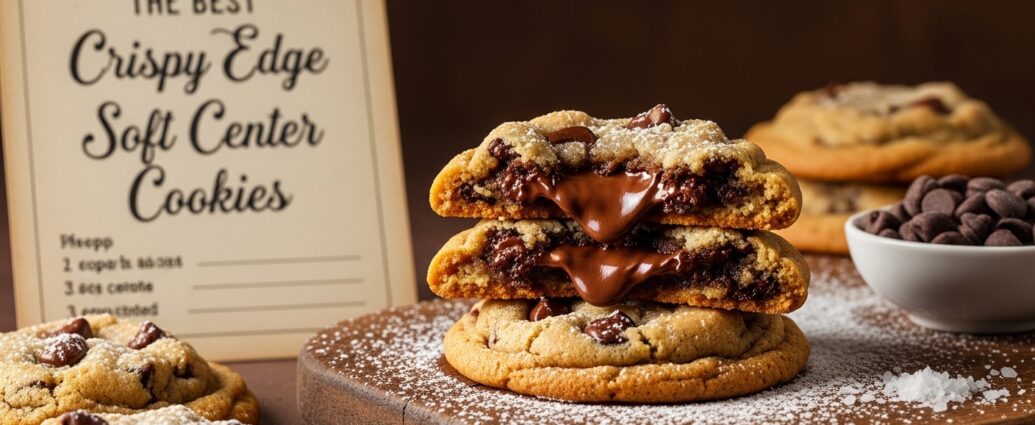
Baking the perfect **crispy edge soft center cookies** is the ultimate holy grail for home bakers. You get that satisfying buttery crunch when you first take a bite, followed immediately by a rich, gooey middle.
Achieving this dual-texture perfection isn’t just about luck. It all comes down to the science of baking. A slight change in your sugar ratio, butter temperature, or oven time makes a massive difference.
If you are tired of cookies that turn out like flat puddles or dry pucks, you are in the right place. Here is everything you need to know to master this specific cookie texture.
Key Takeaways
The Sugar Ratio: More brown sugar than white sugar creates a chewy center, while the white sugar crisp up the edges.
Butter Temperature: Melted butter leads to a denser, softer middle compared to creamed softened butter.
The Secret Ingredient: A dash of cornstarch prevents the cookies from spreading too thin.
Chilling is Mandatory: Cold dough ensures the edges bake faster than the thick center.
Underbaking: Pulling the cookies out while the center still looks raw is crucial for a soft middle.
The Science Behind Crispy Edge Soft Center Cookies
Baking is chemistry. When you put a ball of raw dough into a hot oven, a rapid sequence of reactions occurs.
First, the butter melts, causing the dough to spread. Then, the sugars dissolve and begin to caramelize. Finally, the proteins in the flour set, giving the cookie its final structure.
To get crispy edges and a soft center, you have to manipulate these reactions. Here is how the ingredients play their part.
The Role of Sugar (Brown vs. White)
Sugar does much more than just make your cookies sweet. It dictates the texture.
White granulated sugar absorbs moisture in the dough. When it bakes, it crystallizes, which creates that beautiful golden-brown crunch around the perimeter.
Brown sugar, on the other hand, contains molasses. Molasses adds excess moisture and acidity. The acidity reacts with baking soda to create a thicker, chewier texture. For the ultimate contrast, use a ratio of roughly 2 parts brown sugar to 1 part white sugar.
Butter: Melted vs. Softened
Most standard cookie recipes ask you to cream softened butter and sugar together. This beats air into the dough, resulting in a lighter, more cake-like cookie.
We do not want cakey cookies. We want a dense, gooey center.
Using melted butter eliminates that excess air. The liquid fat coats the flour proteins and sugar crystals entirely. This encourages the edges to fry slightly on the hot baking pan while keeping the inside rich and fudgy.
Essential Ingredients for the Perfect Texture
You don’t need fancy equipment to make incredible cookies. However, you do need the right combination of basic pantry staples.
All-Purpose Flour: This provides the perfect amount of gluten. Bread flour makes them too chewy, and cake flour makes them too fragile.
Cornstarch: This is a professional baker’s secret weapon. Adding just one teaspoon of cornstarch to your dry ingredients “softens” the proteins in the flour, guaranteeing a tender center that won’t dry out.
Baking Soda: You want baking soda, not baking powder. Baking soda encourages outward spreading, which thins out the edges so they can crisp up quickly.
Egg Yolk: While you need a whole egg for structure, adding one extra egg yolk provides extra fat. More fat equals a softer, richer middle.
Step-by-Step: How to Bake the Perfect Cookie
Knowing the science is half the battle. Now, let’s look at the exact method to bring those crispy edge soft center cookies to life.
1. Mix Wet and Dry Separately
Always whisk your flour, baking soda, salt, and cornstarch in one bowl. In a separate bowl, whisk the melted butter and sugars vigorously until the mixture lightens in color. Combine them gently. Overmixing develops gluten, which makes cookies tough instead of tender.
2. Chill the Dough
Do not skip this step. If you bake warm dough, the butter will melt instantly in the oven, leaving you with thin, flat cookies.
Chilling the dough for at least two hours solidifies the butter. When the cold dough hits the hot oven, the outside warms up and spreads first. By the time the heat reaches the center, the edges are already crispy, leaving the middle thick and soft.
3. The “Scoot” Technique
Want perfectly round cookies with thick centers? Try the “scooting” method.
As soon as you pull the baking sheet out of the oven, take a large round biscuit cutter or a large mug. Place it over the hot cookie, and swirl it around in a rapid circular motion. This pushes the crispy edges inward, creating a thicker, softer center.
4. Pull Them Out Early
Your eyes will try to trick you. If a cookie looks completely done in the oven, it will be overbaked by the time it cools.
You must pull the baking sheet out when the edges are golden brown, but the very center still looks pale, puffy, and slightly raw. The residual heat from the baking sheet will continue to cook the center gently as they cool down.
Common Cookie Baking Mistakes to Avoid
Even with a great recipe, a few simple errors can ruin your batch. Watch out for these common traps.
Measuring Flour Incorrectly: Scooping your measuring cup directly into the flour bag packs the flour down tightly. This results in dry, crumbly cookies. Always spoon the flour into your cup and level it off with a butter knife.
Using a Warm Baking Sheet: Never put raw cookie dough on a baking sheet that is still hot from a previous batch. The butter will start melting before it even reaches the oven. Always let your pans cool completely.
Baking at the Wrong Temperature: Ovens are notoriously inaccurate. Your oven might say 350°F, but it could actually be 325°F or 375°F. Invest in a cheap oven thermometer to ensure you are baking at the exact right temperature.
Pro Tips for Storing Your Cookies
The tragedy of a great cookie is that it often loses its texture the next day. The edges lose their crispness, and the center dries out.
To keep your cookies tasting fresh, store them in an airtight container at room temperature.
The Bread Slice Trick: Place a piece of plain white sandwich bread inside the container with the cookies. The cookies will absorb the moisture from the bread, keeping their centers soft and chewy for up to three days.
Wrapping Up
Baking isn’t just about following a list of ingredients; it’s about understanding how those ingredients interact. By tweaking your sugar ratios, utilizing melted butter, and mastering the chill time, you have total control over your final bake.
Now that you know the exact secrets behind baking crispy edge soft center cookies, it’s time to preheat that oven. Trust the process, pull them out early, and enjoy the best batch of cookies you have ever made.
Frequently Asked Questions (FAQs)
Why did my cookies turn out flat and thin?
Flat cookies are usually the result of butter that was too warm or dough that wasn’t chilled long enough. Always chill your dough for at least two hours before baking. Additionally, make sure your baking soda is fresh, as expired leavening agents cause flat bakes.
Can I freeze this cookie dough for later?
Absolutely. Portion the dough into balls and freeze them on a baking sheet for an hour. Once solid, transfer them to a freezer-safe bag. You can bake them straight from frozen; just add 1 to 2 extra minutes to your total baking time.
Do I have to use cornstarch in my cookie recipe?
While you can technically bake cookies without it, cornstarch is highly recommended for this specific texture. It binds with the liquids in the dough to create a very tender, soft center that stays gooey even after the cookie has cooled down completely.
Why are my cookies hard the next day?
Cookies get hard when they lose their internal moisture to the air. Overbaking is the main culprit. Make sure you pull them out while the centers still look slightly underdone. Always store them in a tightly sealed container to trap the moisture inside.